|
Are you trying to have a plastic free Christmas? Do you want to be more eco-friendly and have a green, zero waste Christmas? The easiest way is to do it yourself and have a hand-made festive season.
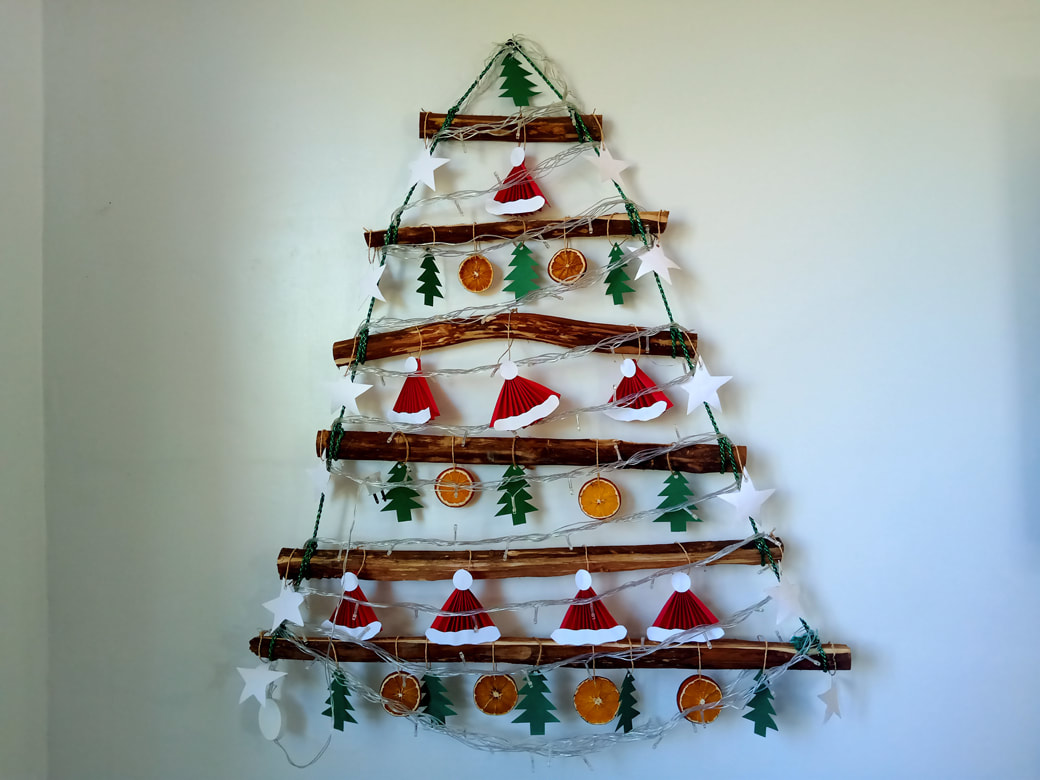
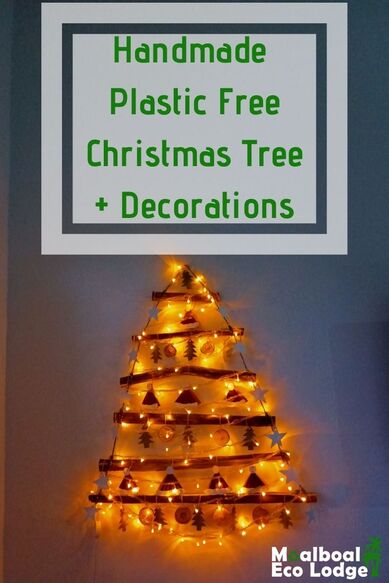
Christmas may be the most wonderful time of year, but not for our environment. Wherever you look, plastic is used from the tree, to the decorations, to wrapping paper. However it doesn’t have to be this way, you can have an eco-friendly Christmas and plenty of fun. It was important our first Christmas at the Eco Lodge was plastic-free, so I began researching handmade eco-friendly Christmas trees, and DIY decorations. I discovered a huge variety of options, and chose what I thought would be the most fun to make, the easiest, and what would give us the most zero waste Christmas. From dried oranges to paper stars, I enjoyed putting together our green Christmas Tree and all the handmade decorations to hang from it. Moalboal Eco Lodge share our handmade, plastic free, eco-friendly Christmas tree and decorations.
Admittedly, when we say out loud how we made our Christmas tree and decorations, it doesn’t sound the most attractive. However, with some imagination and time to prepare, it is possible to turn a pile of sticks into a pretty, twinkling tree of which you can feel proud.
This year our Christmas tree and decorations were made up of:
You will need the following:
Christmas Tree
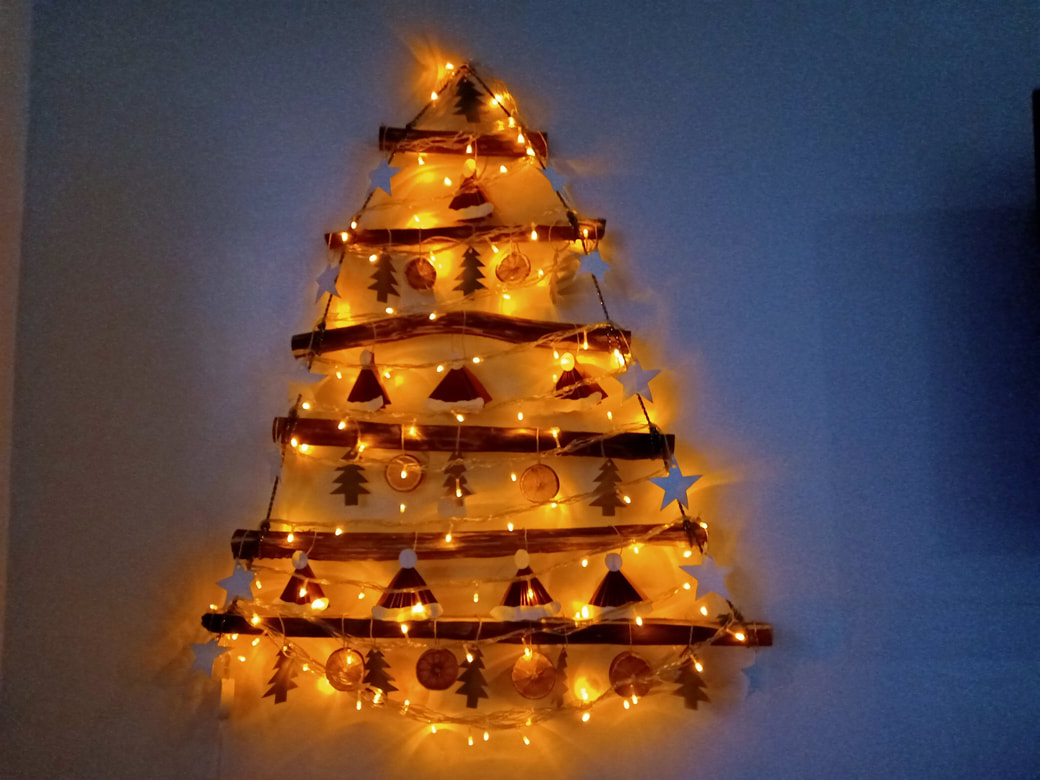
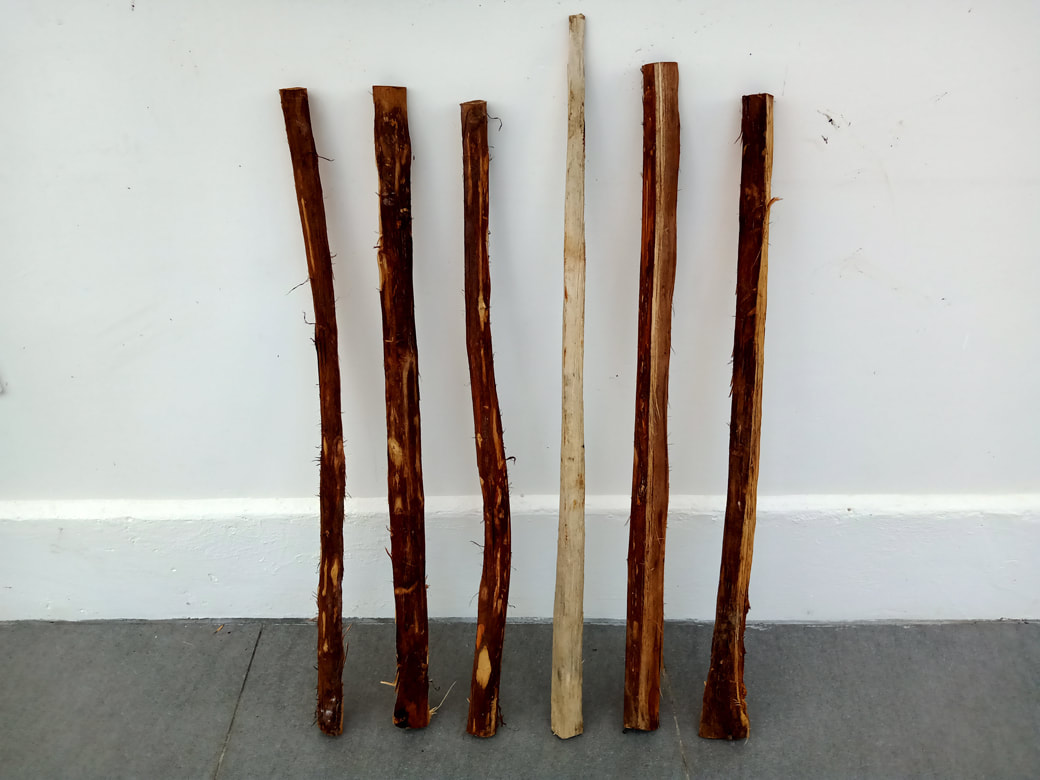
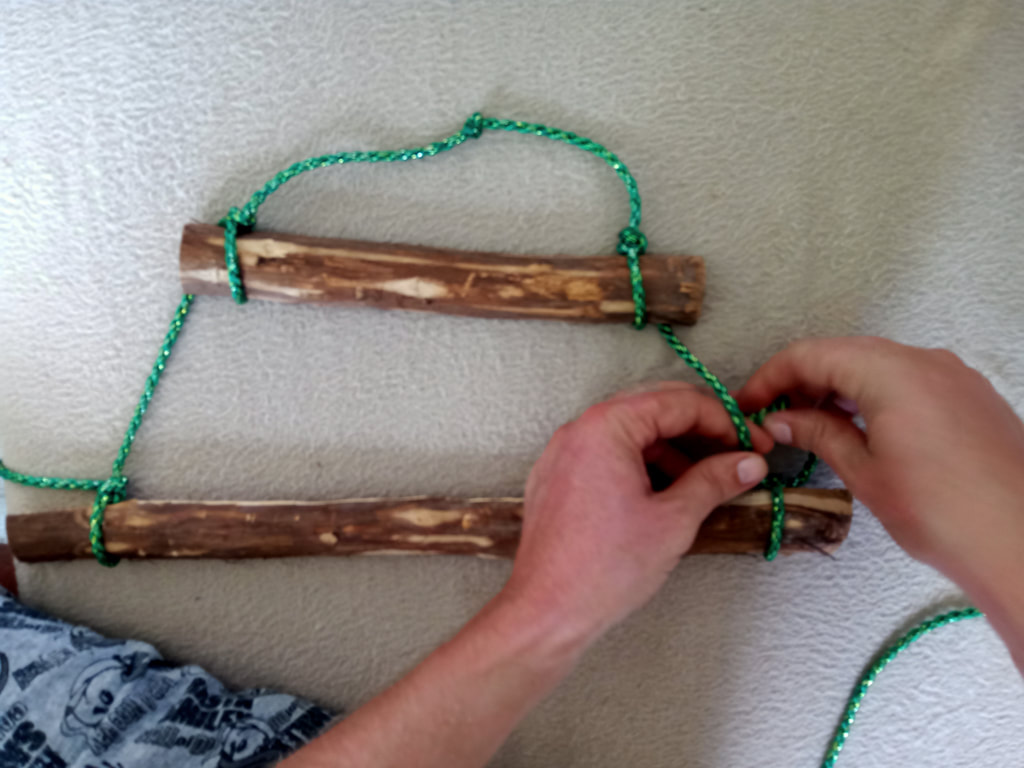
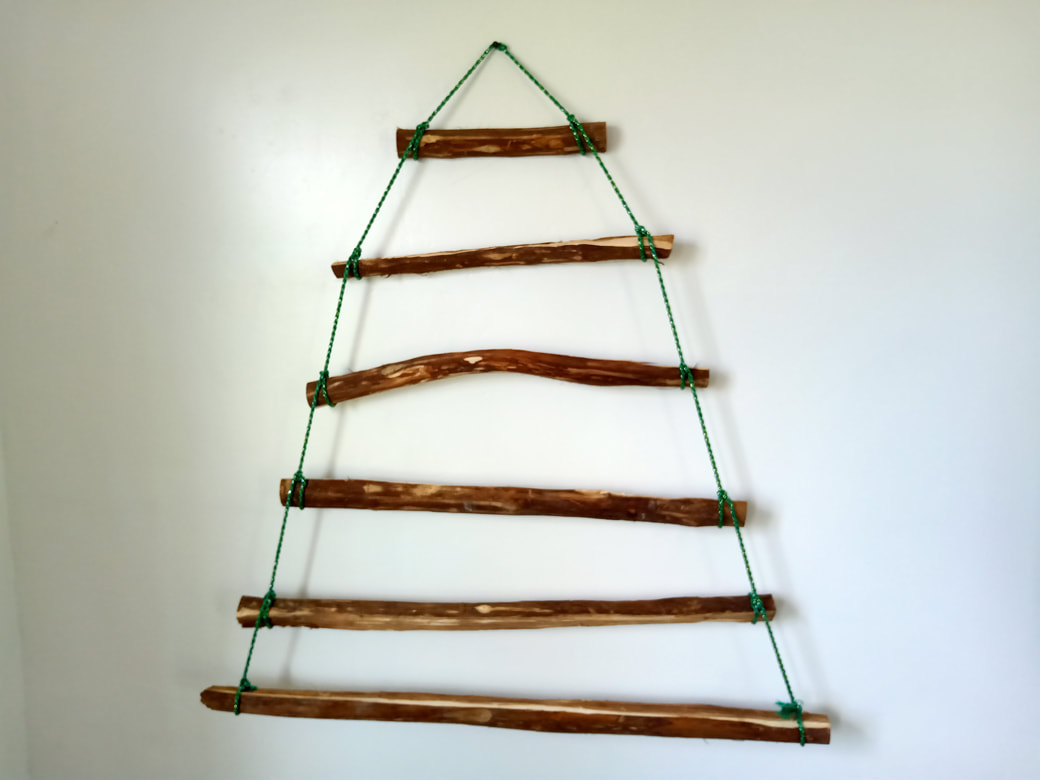
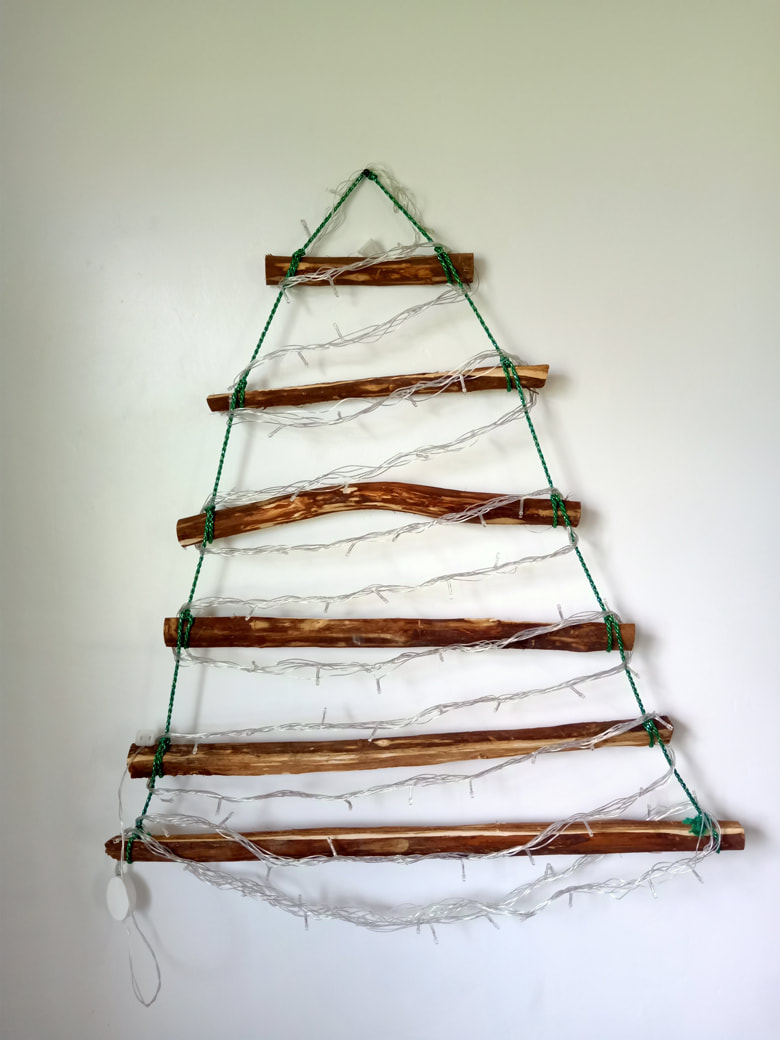
We are very lucky that people sell piles of sticks on the side of the road as a by-product of lumber yards in the area. If you want to collect sticks from the forest, park or anywhere else you may find sticks, simply choose the thickness, and how many you want for the size of your tree. We bought a stack of 6 thick sticks, because that is what was for sale. 1. With a hand saw or something sharp, cut your sticks to the desired size. Each stick will be slightly smaller so they form a pyramid. 2. We tied ours together using thick green and gold string purchased from a sewing shop, but you can use your LED lights or another method to bind them together. 3. Hang the tree on the wall close to a plug socket. 4. Using last year’s LED lights, we strung them around the tree and plugged them in. 5. All of the decorations mentioned below were hung from the tree.
Related Post: Eco Friendly Gifts for Christmas and Any Occasion
Paper Stars
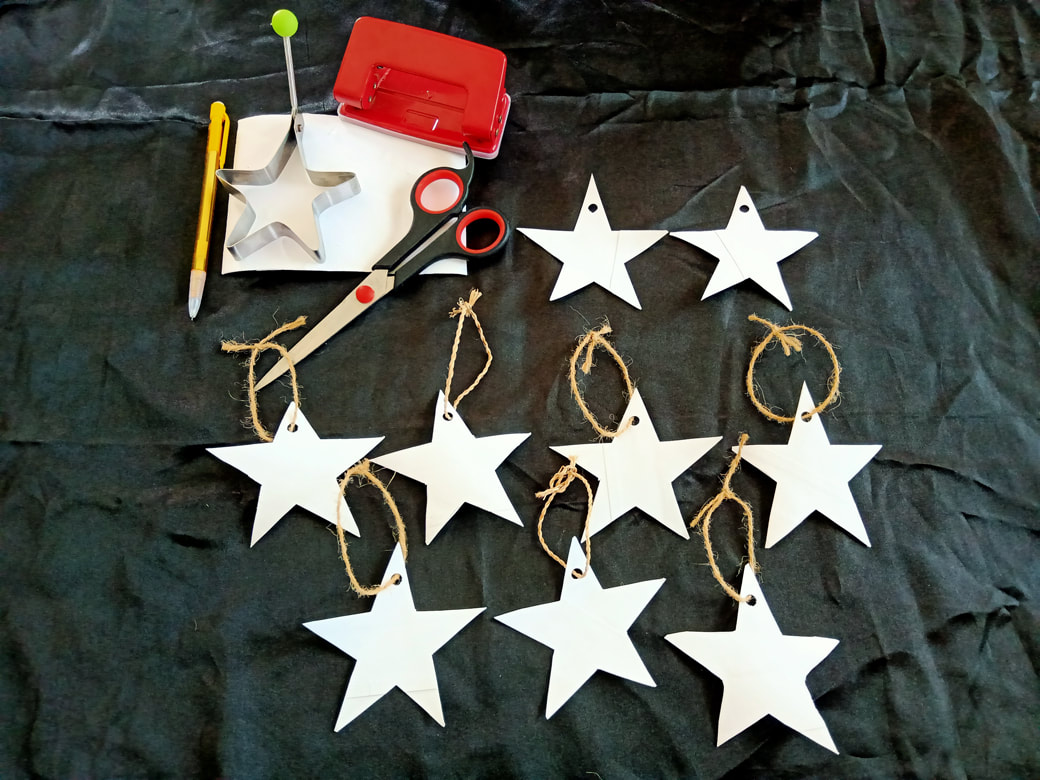
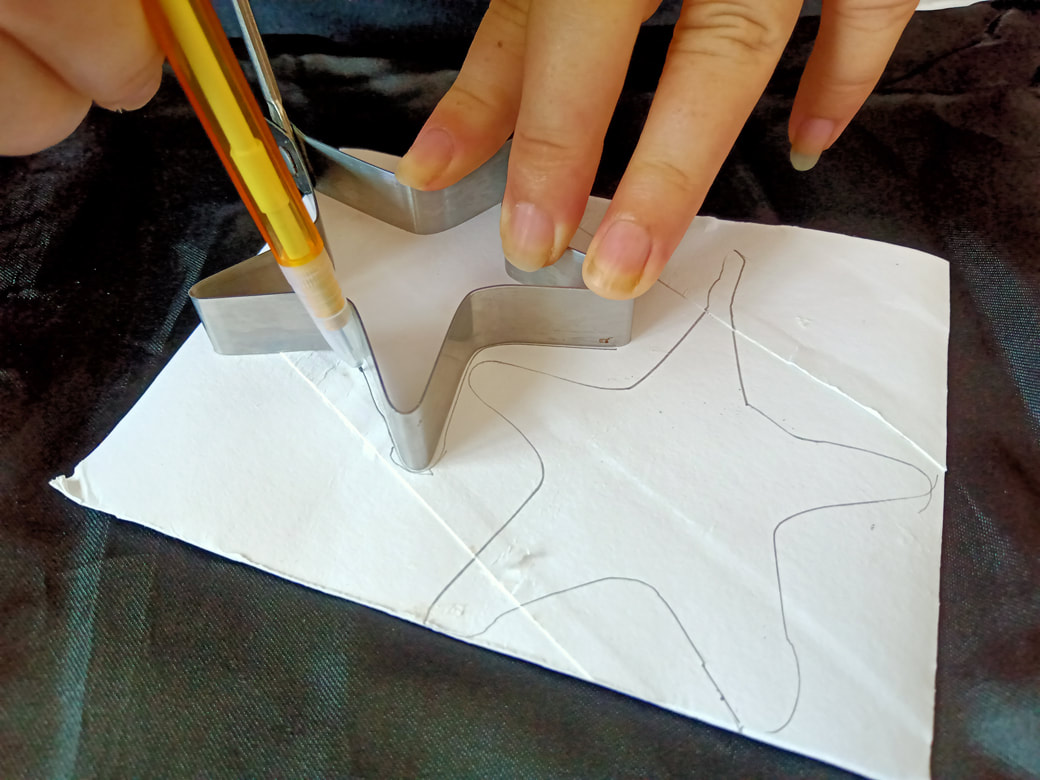
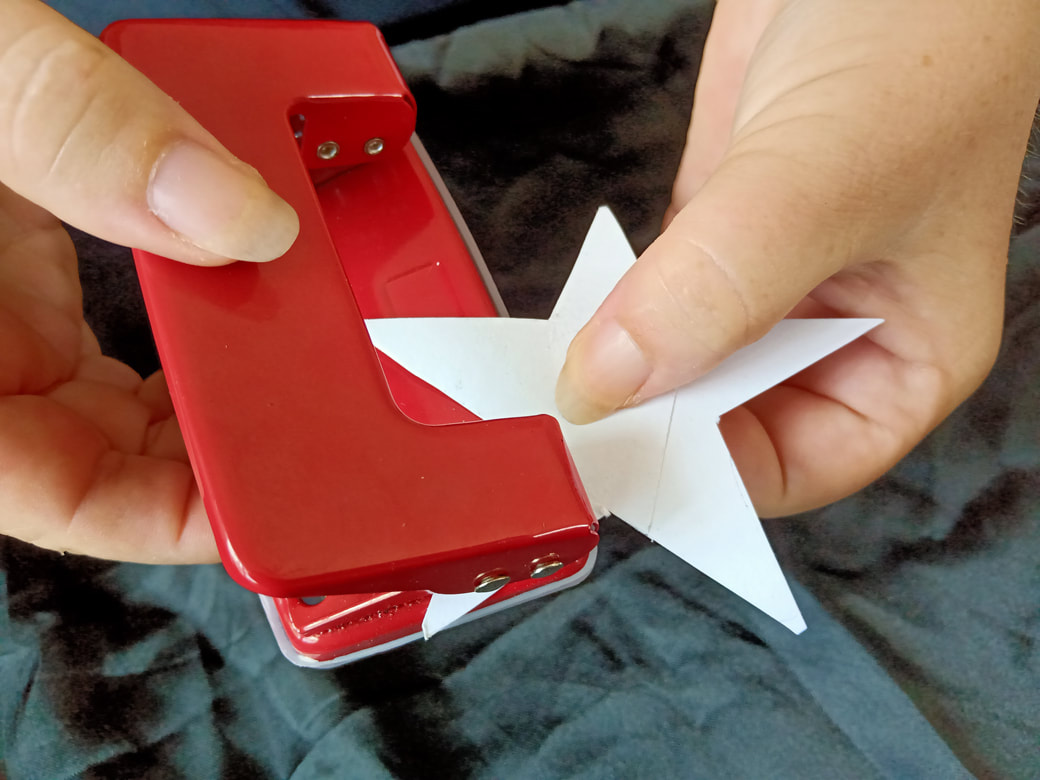
Admittedly we could have used plain white paper to make these stars, but we try to live a zero waste lifestyle, and only buy what we need. Our empty toilet paper tubes are white so are perfect for this project. Follow these instructions to make your paper stars. 1. Cut the toilet paper tube in half, and flatten underneath something heavy. 2. We are not good at drawing stars (please don’t judge us haha), so we used a star cookie cutter as a template. Using a pencil, draw a star, you should be able to get two out of each tube. 3. Cut out the stars and leave to one side. 4. When you have finished cutting them all, use a hole punch or something sharp to make a hole at the top. 5. Thread string through the hole and voila you have a star. You can either tie it now, or leave it until you tie it around your tree.
Paper Christmas Trees
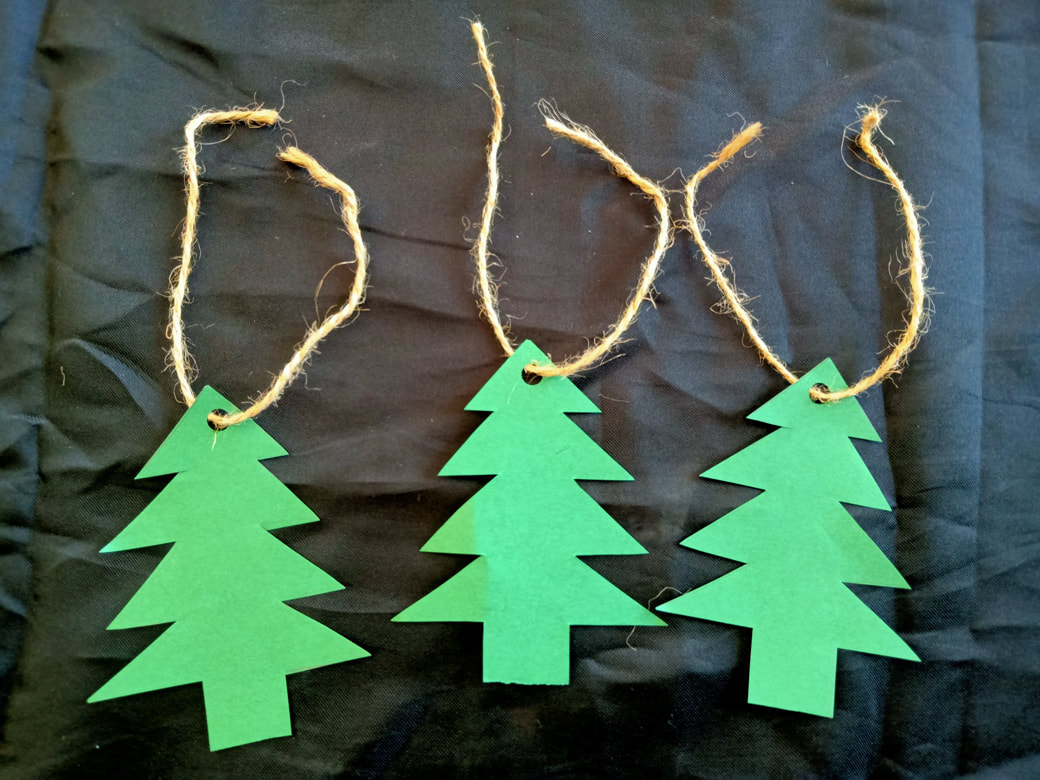
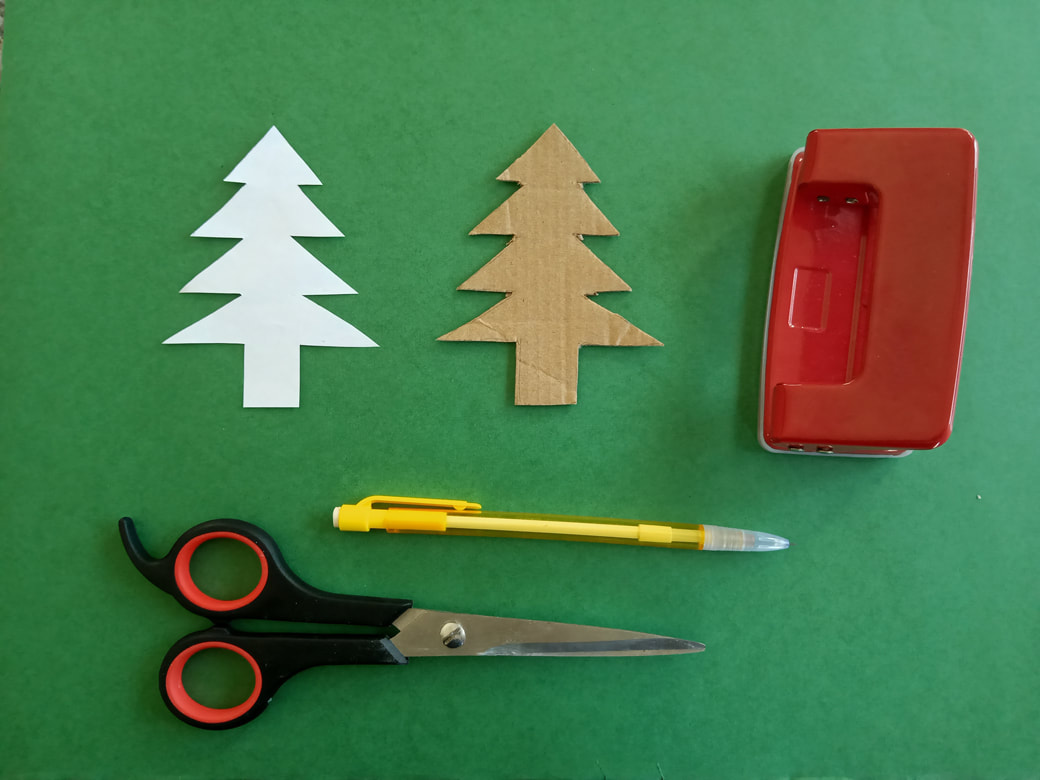
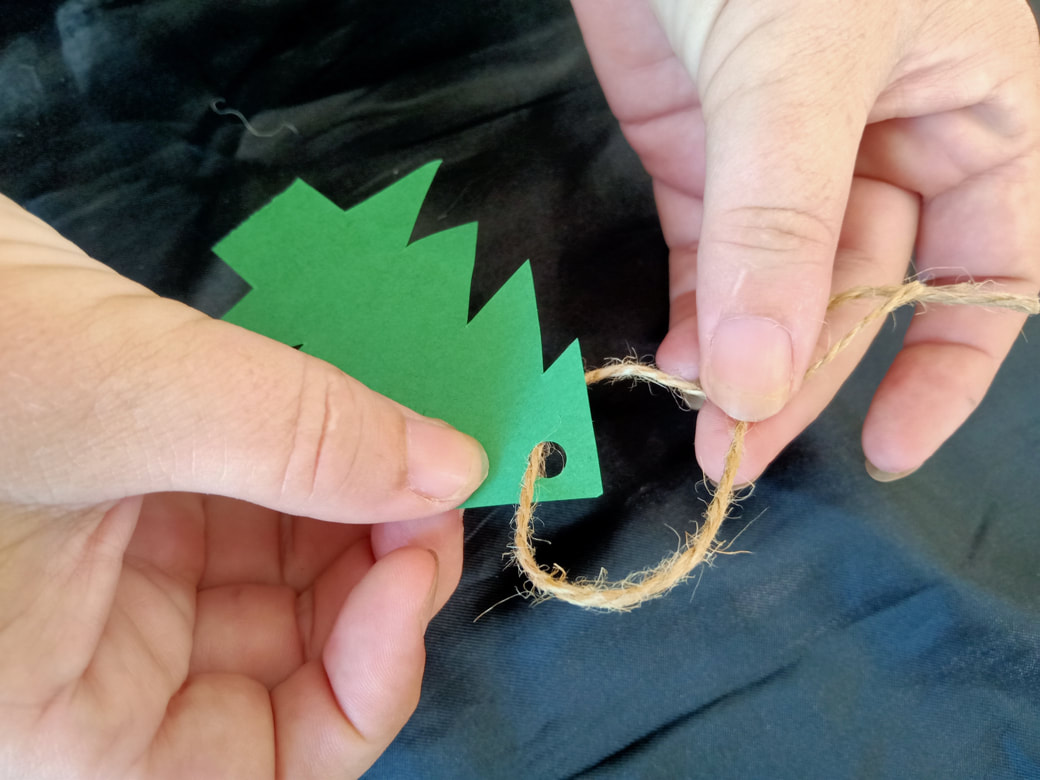
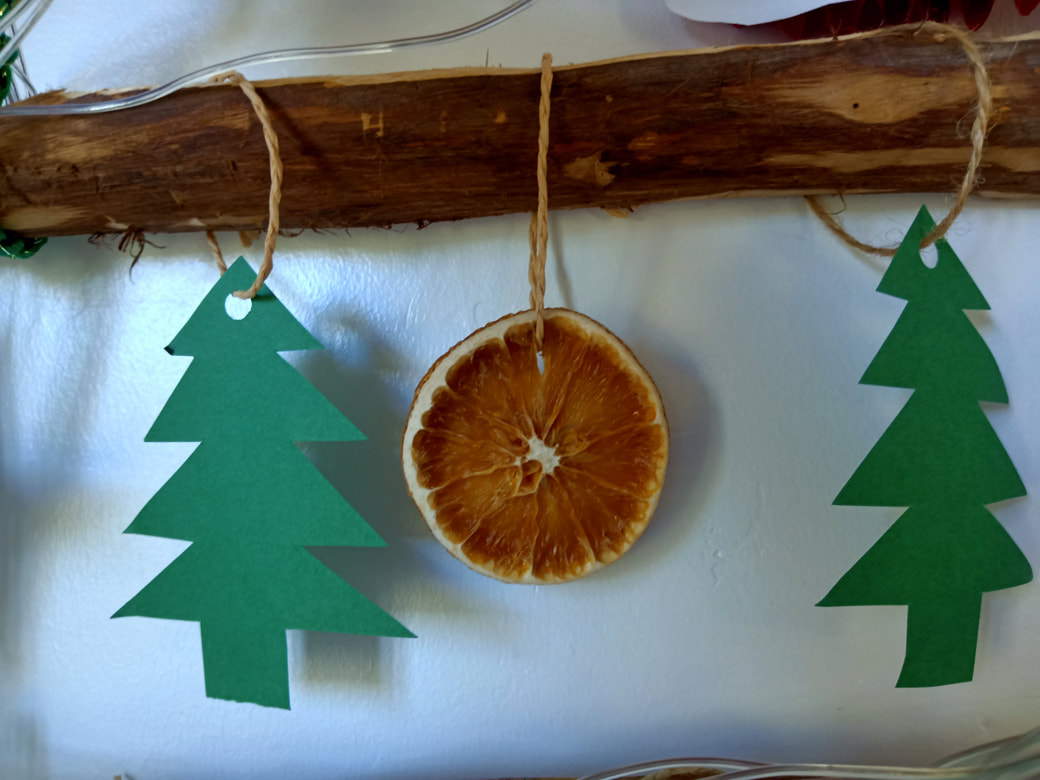
Super easy to make, all you need is some green coloured paper or card. 1. Using a pencil, make a template of your Christmas Tree. I am not good at drawing so made my template on a piece of used paper first, then made the proper template out of an old cardboard box. 2. Draw Christmas trees onto the coloured paper or card. 3. Cut out the Christmas Trees and leave to one side. 4. When you have finished cutting them all, use a hole punch or something sharp to make a hole in the top. 5. Thread jute string through the hole and now you have a Christmas Tree decoration. You can also make a garland of trees either on string or ribbon to hang around your room.
Dried Orange Ornaments
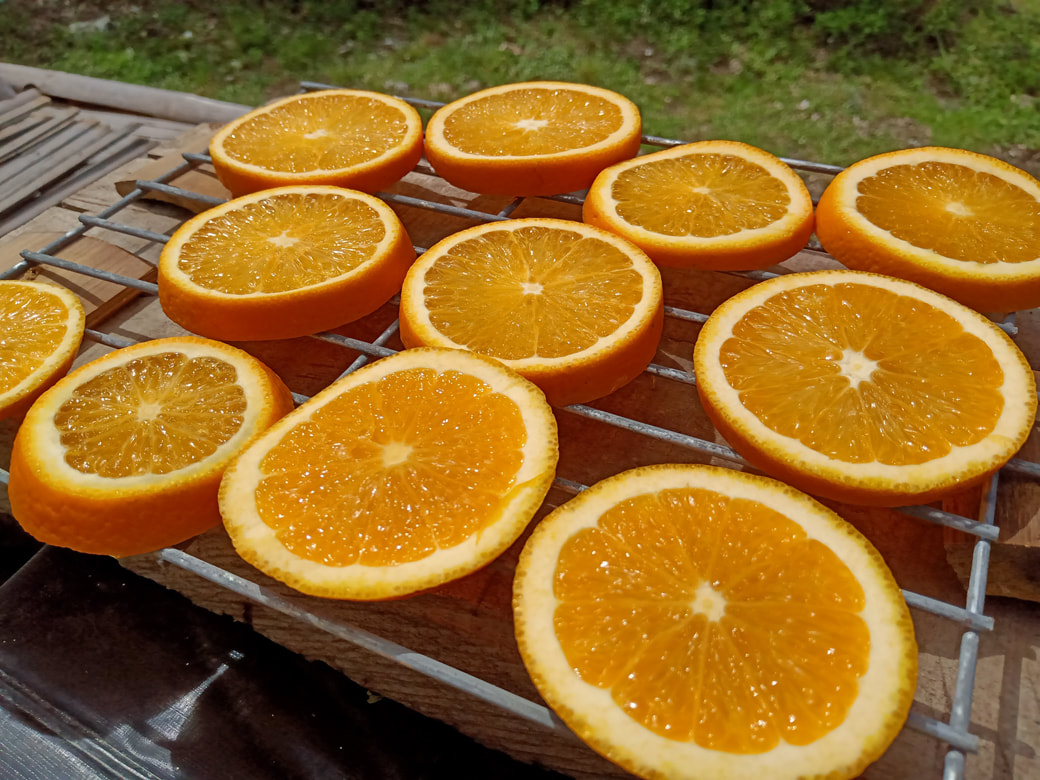
Dried oranges can be used for many decorations. They can be a nice addition to a simple gift wrap, table decorations, or wreath garlands. When they have dried, store them in a sterilised air tight container for many months/years to come! If for any reason they cannot be used another year, they can be composted instead of ending up in landfill. Apparently there are four ways to dry oranges. One of them uses a dehumidifier which we don’t have, and another is to use the microwave but this didn’t work for us, I have therefore included two ways. Whichever method you use, you want to dry them slowly so you don’t burn them, turning frequently to ensure they are even. We used the sun drying method as we live in the Philippines, are blessed with sunshine, and this is the most eco-friendly way of drying without using electricity or gas. I will admit it took quite a while to dry them completely which could be down to a number of reasons (maybe we cut them too thick, perhaps we didn’t blot enough of the excess moisture, or maybe it’s because the sun would cloud over intermittently throughout the day).
Preparation
1. Buy a few oranges, the amount will depend on the size of your tree, and if you want to use them for other decorations such as a wreath garland, or to finish off wrapping paper. We used 2 oranges. 2. Using a sharp knife, slice the top and bottom off your orange and throw into the compost. Slice the remaining orange into 3-4mm pieces (we followed instructions to make them thicker which I don’t recommend as they take much longer to dry) 3. With a white paper towel, blot to remove excess moisture, turn the slices over and blot again. This will reduce the amount of time they need to dry. Patterned paper sometimes leaves a mark on the oranges but if that’s all you have, then use it. Alternatively use a clean t-towel which you can wash when you have finished. We threw the paper towel into our composter when finished. 4. Place the oranges on a wire rack with plenty of space around each one to allow for air flow when drying. 5. Dry the oranges by your preferred method discussed below. 6. When the oranges have turned a darker brown and are fully dry, thread them with string/jute so they are ready to hang from the tree.
Sun drying
Spacing the sliced oranges on wire racks, we placed them on our covered grill so they were high off the ground with plenty of air space around them. Every 45 minutes we turned them so they would dry evenly (we later left them for a couple of hours before turning and they were fine, it all depends on the strength of the sun). Depending on the sunshine, sun drying can take anywhere between 2 – 8 hours (possibly longer) but it’s free so all good! If it’s overcast or humid, they won’t dry so you need the sun. Oven dry 1. Set the oven on its lowest setting. 2. Space out the orange slices on a wire rack. You want space around the slices to improve air flow and decrease drying time. If you use a baking tray it could double the amount of drying time, and use parchment paper so the slices don’t stick. Don’t put the orange slices at the bottom of the oven nearest to the gas flame as they will burn) 3. Cook until dry and crispy, turning every 30-45 minutes. Turning frequently reduces the chances of the slices sticking or burning. You want to dry the slices so they are crispy and brown, you don’t want them burnt so the slower the better. This process could take anywhere between 2-4 hours depending on the temperature of your lowest setting. 4. Remove the slices from the oven when you think they are fully dried out. Cool on a wire rack which may take up to 30 minutes.
Santa Hats
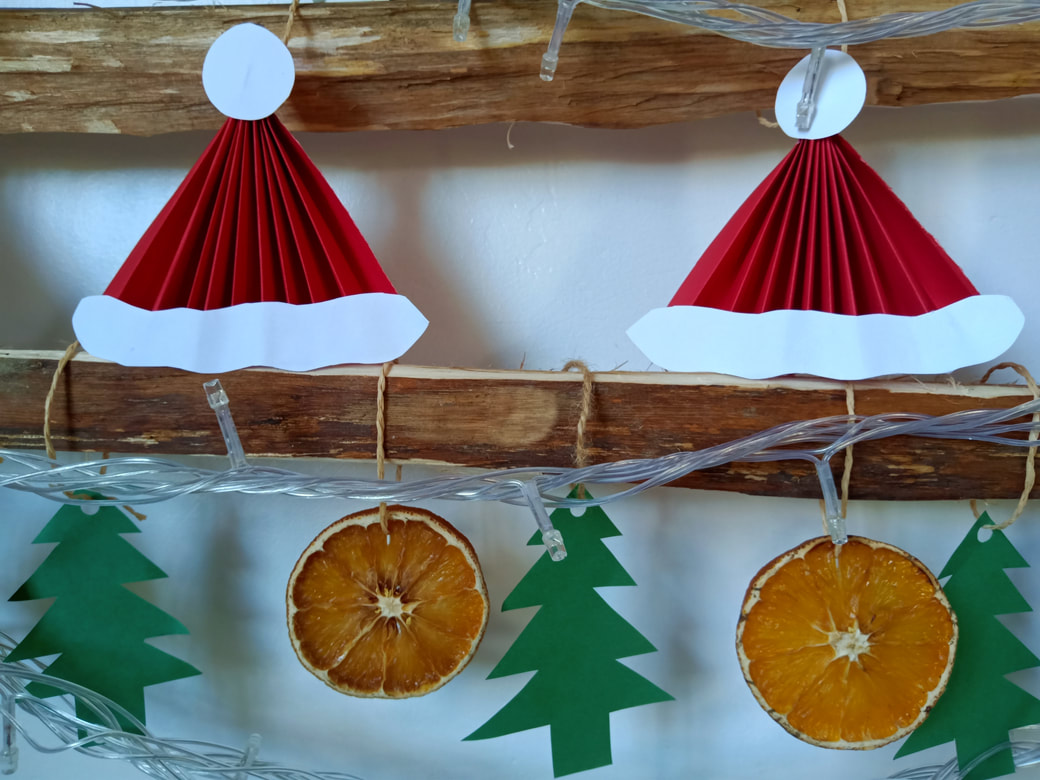
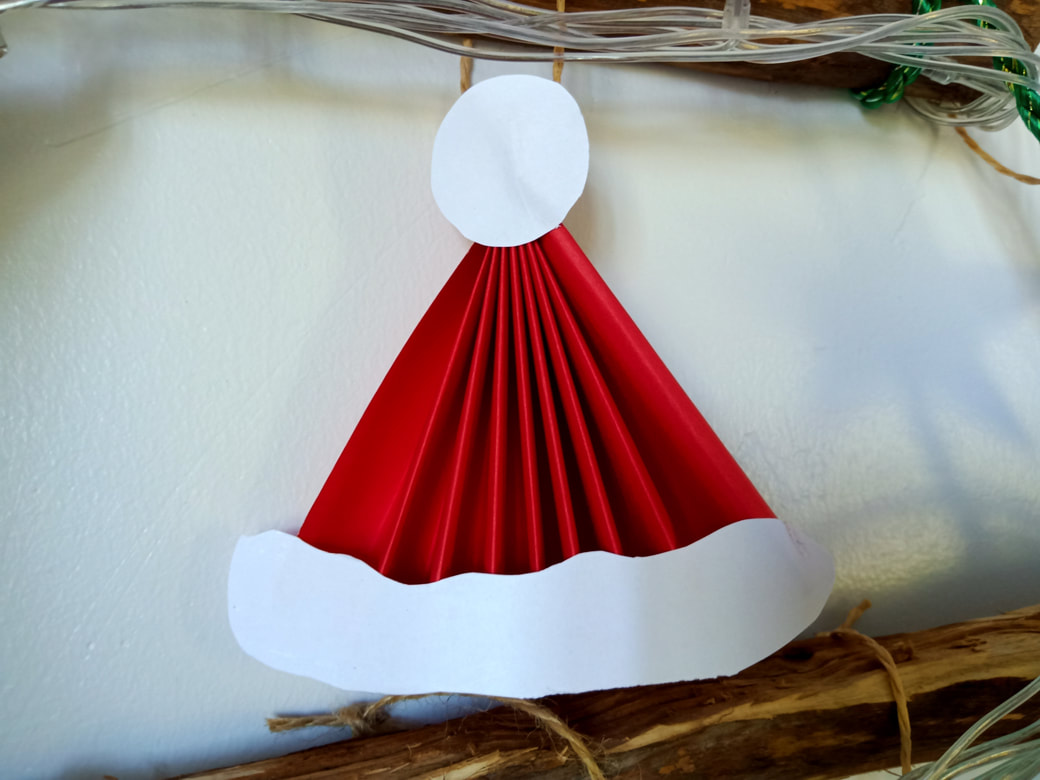
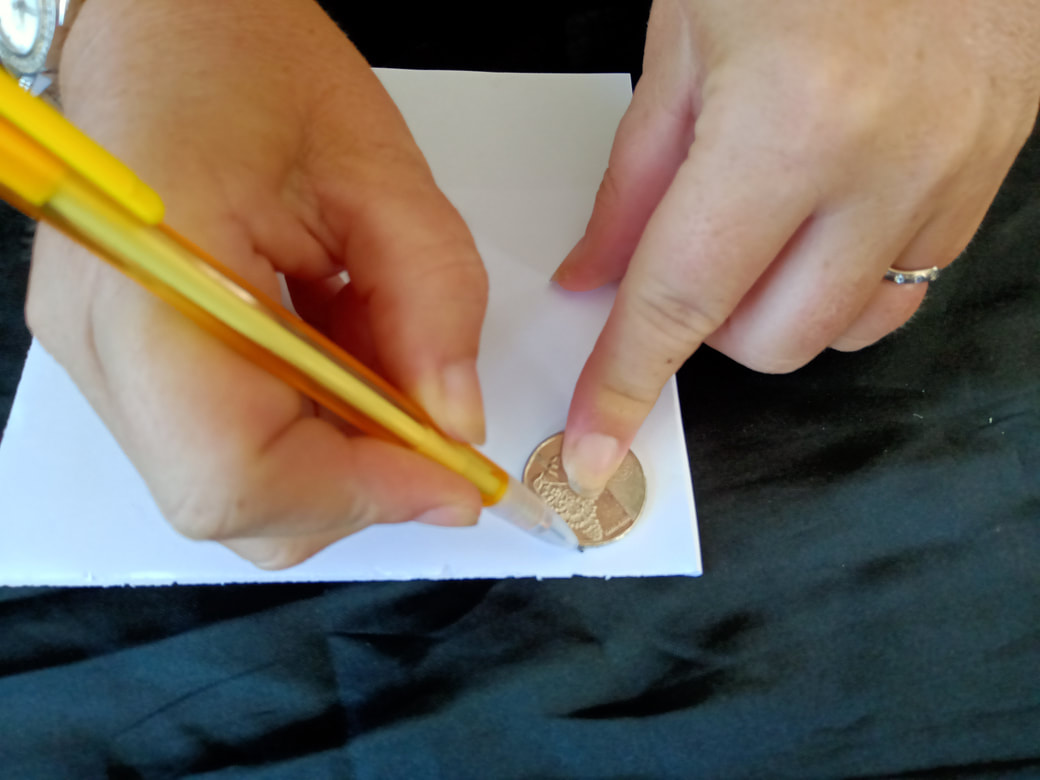
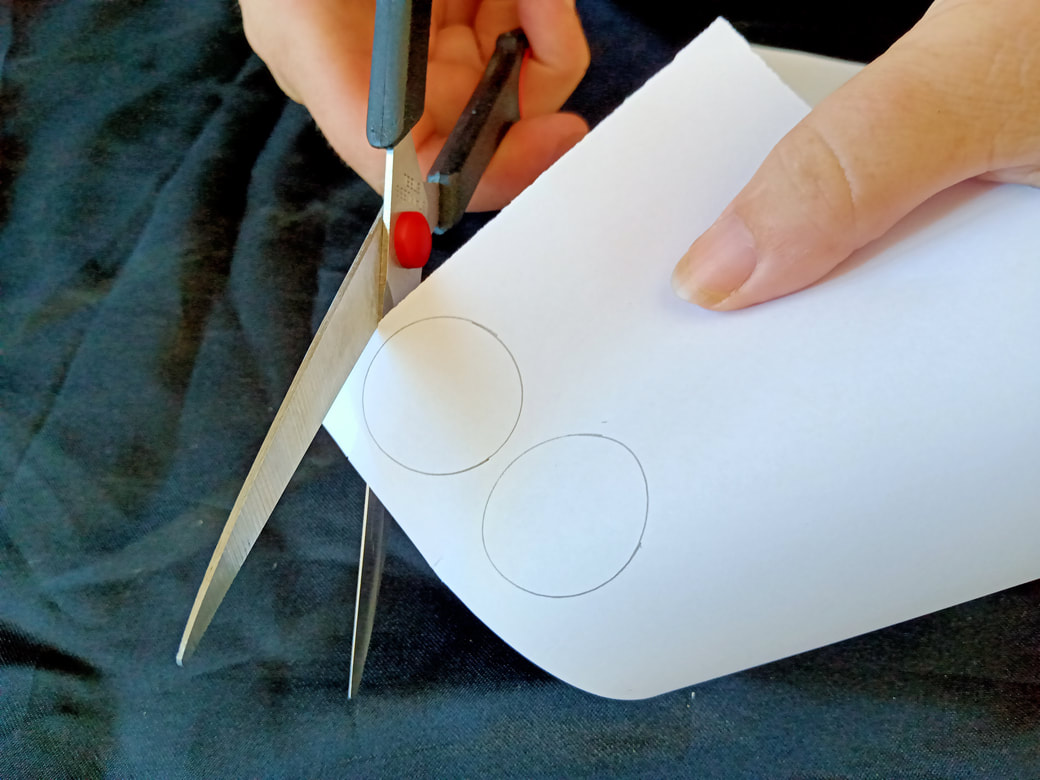
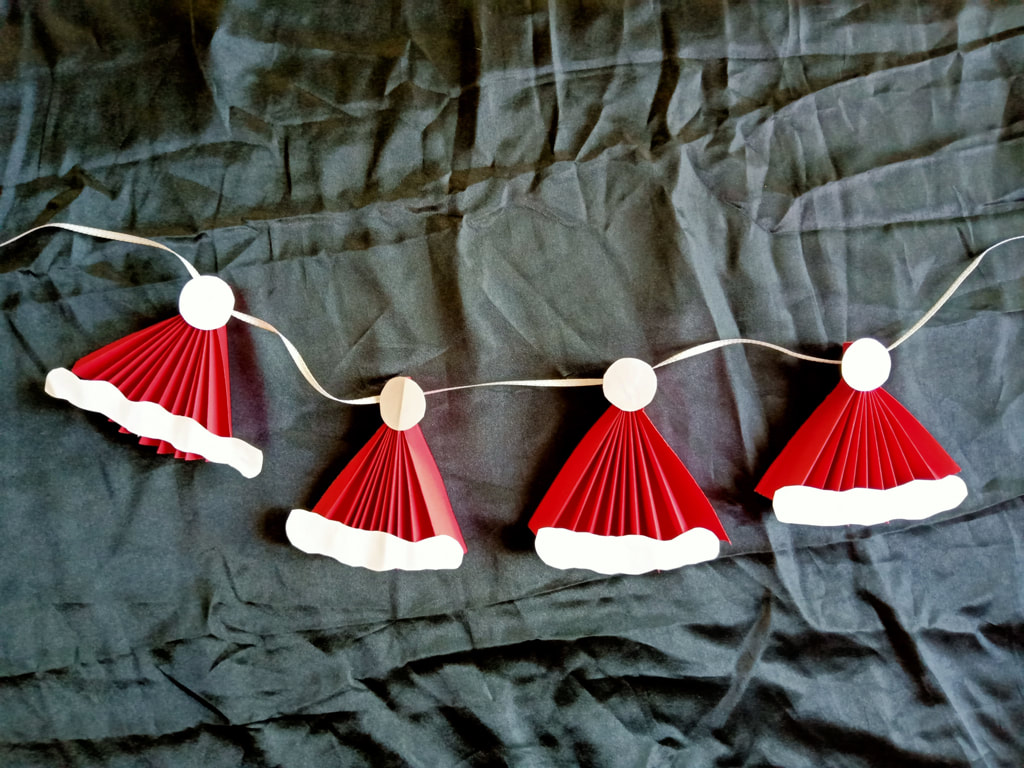
For me, red is the colour of Christmas, so I was very excited to discover these santa hats using red coloured paper/card. In hindsight, I could have picked an easier design than this 3D version. 1. Cut the paper/card into a strip about 9cm tall. 2. Fold the strip to make a fan shape, anywhere between 8-12 creases. 3. Unfold, put glue across the top then refold so it will keep its shape. 4. Leave the glue to dry for a while, then using a sharp object, make a hole through the top so you can thread the string/ribbon. I used a hammer and nail because it was too thick for my small hole punch. 5. On the white paper/card, draw around a coin, this will be used to make the bobble of the santa hat. 6. Cut out the circle and glue it to the top of the hat. 7. For the hat fur at the bottom, cut a long, thin wavy cloud shape and glue onto the hat. 8. Thread string/jute through the hole and hang from your tree. Alternatively, just like the Christmas Tree garland, you can slide a few hats onto ribbon to make a santa hat garland to hang around your house.
Hand making our Christmas tree and decorations helped get us into the Christmas spirit. We honestly love our tree, and because it's plastic free and zero waste, we do not feel guilty about having a tree this year.
Merry Christmas to you all.
Looking for an Eco-Friendly place to stay in the Philippines?
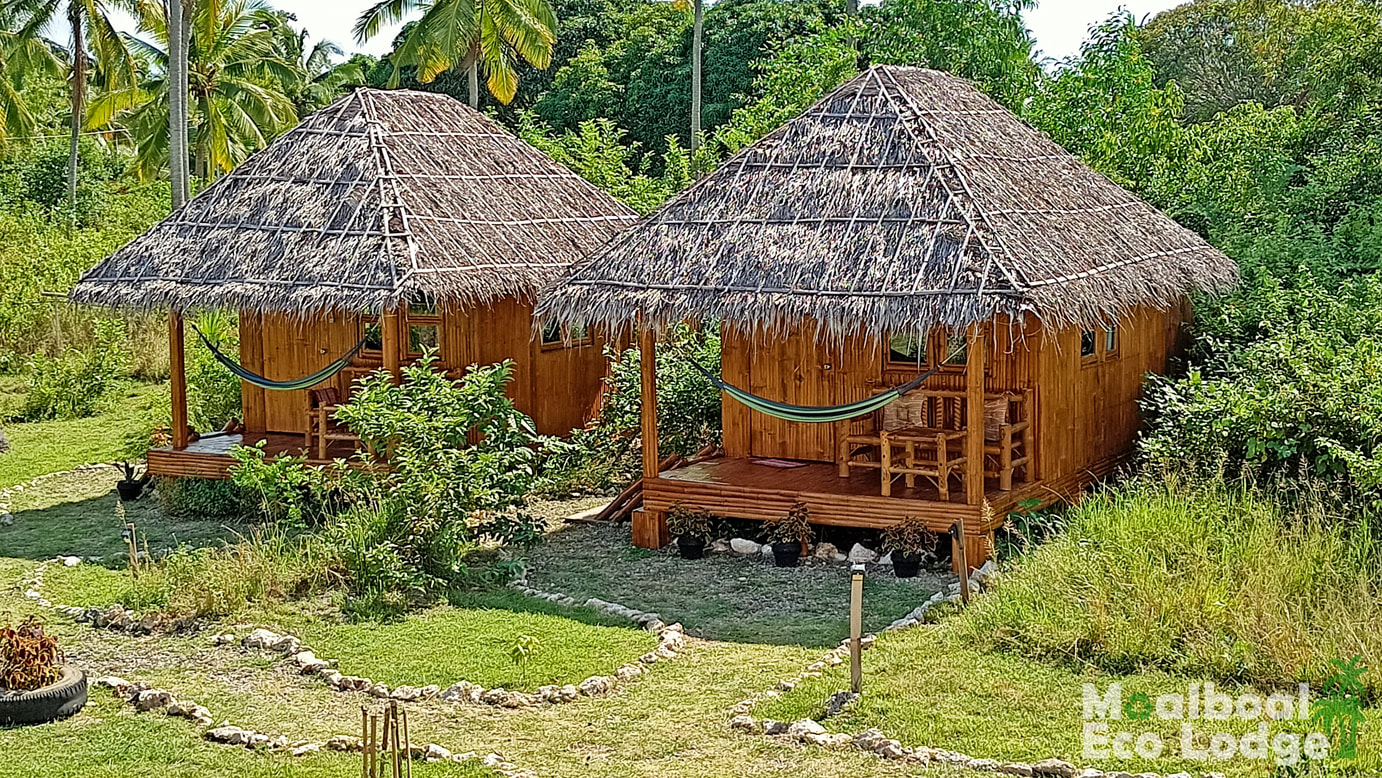
When visiting Cebu, Moalboal Eco Lodge is the perfect place to stay. Located in the middle of a peaceful field with no traffic noise, it’s close enough to amenities, but far away so you can have a good night’s sleep. There is plenty of space to observe physical distancing at the Eco Lodge. Nestled in amongst palm trees, bamboo and coconut trees, Moalboal Eco Lodge have beautiful Bamboo Cottages suitable for solo travellers, couples and friends. We have two private rooms and a spacious 4-6 bed family room, a breakfast area, kitchen, and a stunning hammock/yoga/sunset deck. Take a look at our rooms! Please read our COVID-19 Care page for more information regarding your safety. Visit our Eco Shop* for all your plastic free, zero waste, palm oil free travel products! (*10% from every purchase is donated to Moalboal Dog Rescue)
For help regarding travel and Visa requirements, visit our Travel Information page
Do you want to travel responsibly?
Sustainable Travel: How to be a Responsible Tourist Is Oslob Whale Shark Watching Ethical? 12 Plastic Free & Zero Waste Travel Tips During Coronavirus Plastic Free & Zero Waste Toiletries: Space Saving Travel Essentials International Orangutan Day: Palm Oil Free Challenge Heading to the Philippines? Check out these related posts! Bucket List Ideas and Experiences in the Philippines Fun Facts about the Philippines Things You Should Know Before Visiting the Philippines 28 Things to Do in Moalboal, Cebu Must-Try Filipino Foods Want To Take a Day Trip from Moalboal? Dolphin Watching, Alegria Montpeller Waterfall, Alegria Kawasan Falls, Badian Lambug Beach, Badian Basdaku “White Beach”, Moalboal Taginis Falls & Budlot Spring Mantayupan Falls, Barili Simala Shrine Castle Church, Sibonga Interested in diving? Freediving and Scuba Diving? Benefits of Learning Both Swimming with Sardines in Moalboal Thresher Shark Diving, Malapascua
Pin this post for future reference!
0 Comments
Your comment will be posted after it is approved.
Leave a Reply. |
Archives
October 2023
Categories
All
|


